At the August 2016 RoRo Meetup, I was privileged to talk about the Crystal programming language, comparing & contrasting it with Ruby. I was really nervous, as I’d never presented at a tech meetup before, but I think it went really well!
I started a small group of microfinance loaners. I’ve been building a mini site to give us a better picture of what we’ve achieved, and what we’d like to do next. Part of my year of projects.
Build People
As a well-off, young male white guy living in one of the richest countries in the world, I have no idea what poverty feels like. To be honest, I hope I never have to. I was raised to understand that all “my” money? It’s not really mine - I’m just a steward of it. And as someone to whom much has been given, I want to give a good account of what I have.
I believe in charitable giving - giving without expecting to receive in return. I believe that international aid is, to a point, a good thing - and something that both citizens and governments alike should get behind. But not every solution fits every problem, especially at the smaller scale.
Big Differences in Small Packages
I really liked the concept of microfinance from the first time I heard about it. Much of the world has limited access to banking & credit infrastructure, so anything that gives these people more options is a good thing in my book. But there’s a gap between the people looking to borrow money and those (like us) who have it. Enter sites like Kiva. Here’s part of what they have to say about microfinance:
Microfinance is the supply of loans, savings, and other basic financial services to the poor. (http://cgap.org)
As these financial services usually involve small amounts of money - small loans, small savings, etc. - the term “microfinance” helps to differentiate these services from those which formal banks provide.
Why are they small? Someone who doesn’t have a lot of money isn’t likely to want or be able to take out a $50,000 loan, or be able to open a savings account with an opening balance of $1,000.
Kiva does a great job of bridging the gap between those looking to lend money and those who want to borrow it. There are plenty of micro financing groups on the ground around the world, but they often face similar problems, just at a slightly higher scale. Kiva is a clearing house that makes finding projects to fund simple. By combining loans as small as 25USD together, they’re able to connect a large pool of lenders to a large pool of borrowers, without requiring a single lender to fund an entire loan themselves.
About my group
At the start of 2014, I asked around and found 9 friends willing to start a small microfinance group, using Kiva as our source of loans. I didn’t want this group to be at the expense of other causes we were already supporting, so I deliberately set the bar low.
The rules are simple:
Every month, each member contributes 5USD, so every month there is at least 50USD to loan.
All funds from repaid loans should be re-loaned as soon as possible.
Each month, one member gets to fund a loan using all the money available in our Kiva account.
Even though these are loans, not donations, we will not “take the money back”. If and when the group winds up, the funds will be donated to a charity we agree on.
After just over a year in operation, the results so far have been good! In the 17 months since we started, we’ve put in (17 x 50 = 850USD), but we’ve loaned out 1250USD! This means that nearly half our money has been loaned twice, and this will only get faster over time.
Build software
Kiva has a pretty nice API, which lets you pull all sorts of interesting info out about public information (loans, field partners, etc) as well as your own personal information (loans you’ve funded, your available balance…)
While Kiva shows some pretty cool stats itself, I wanted to show other things, like which person funded which loan. We’re also curious about how quickly money cycles round, so I’ll be building some insights about that too.
While getting the Cogent Blog up and running recently, I ran into a strange issue with the Ghost blogging platform and WebFonts - hopefully this will save you some pain.
We use a couple custom fonts on the blog, defining them using the CSS@font-face directives. One font was worked fine, but the other consistently failed to show up.
What the WOFF?
For the font that didn’t work, the browser received a 303 redirect to the same URI, but with a trailing slash. The font that worked was served just fine.
It turned out the “broken” font was in WOFF format, and the one that worked was in WOFF2 format. This wouldn’t normally make any difference, but something was definitely odd. Our blog is hosted on Ghost.io too, so troubleshooting options were limited.
Tricksy MIME Types
The solution workaround turned out to be really simple:
Rename the broken font’s extension from .woff to .woff2, and fix the paths in the CSS.
I’m not sure exactly why this works. Maybe it’s to do with Ghost’s routing rules – or maybe it’s the fault of Ghost’s CDN. Either way, hopefully this solves you some head-scratching if your fonts aren’t working as you expect.
I’m a keyboard/piano player, but I’m learning the Harpejji G16 as well. When playing in my band, I’ve tried playing bass lines with my left hand on the keys, and leads on the harpejji with my right hand. Unfortunately, the stage piano I’ve been using is too big to sit nicely with the harpejji, and attempting V-like instrument arrangements simply gave me RSI. I needed something smaller that was really easy to use, with as little setup as switching on my current keyboard!
Part of my year of projects.
What you need for this Guide
A Raspberry Pi, connected to the Internet. (I’m using an original Model B)
An SD Card with Raspbian installed. The NOOBS method is probably easiest.
Speakers to plug into your Pi, for troubleshooting.
Option A: Monitor & keyboard, for interacting with the Pi directly.
Option B: another PC for SSHing to your PI.
Preparing your Pi
There’s a little bit of work required to get acceptable results out of your Pi. We’ll overlock this Pi, so you will need to power your Pi from a mains power supply to make sure it gets the juice it needs. From here on, we’ll assume you’ve logged into your Pi as the pi user and have a terminal to enter commands.
Overclocking
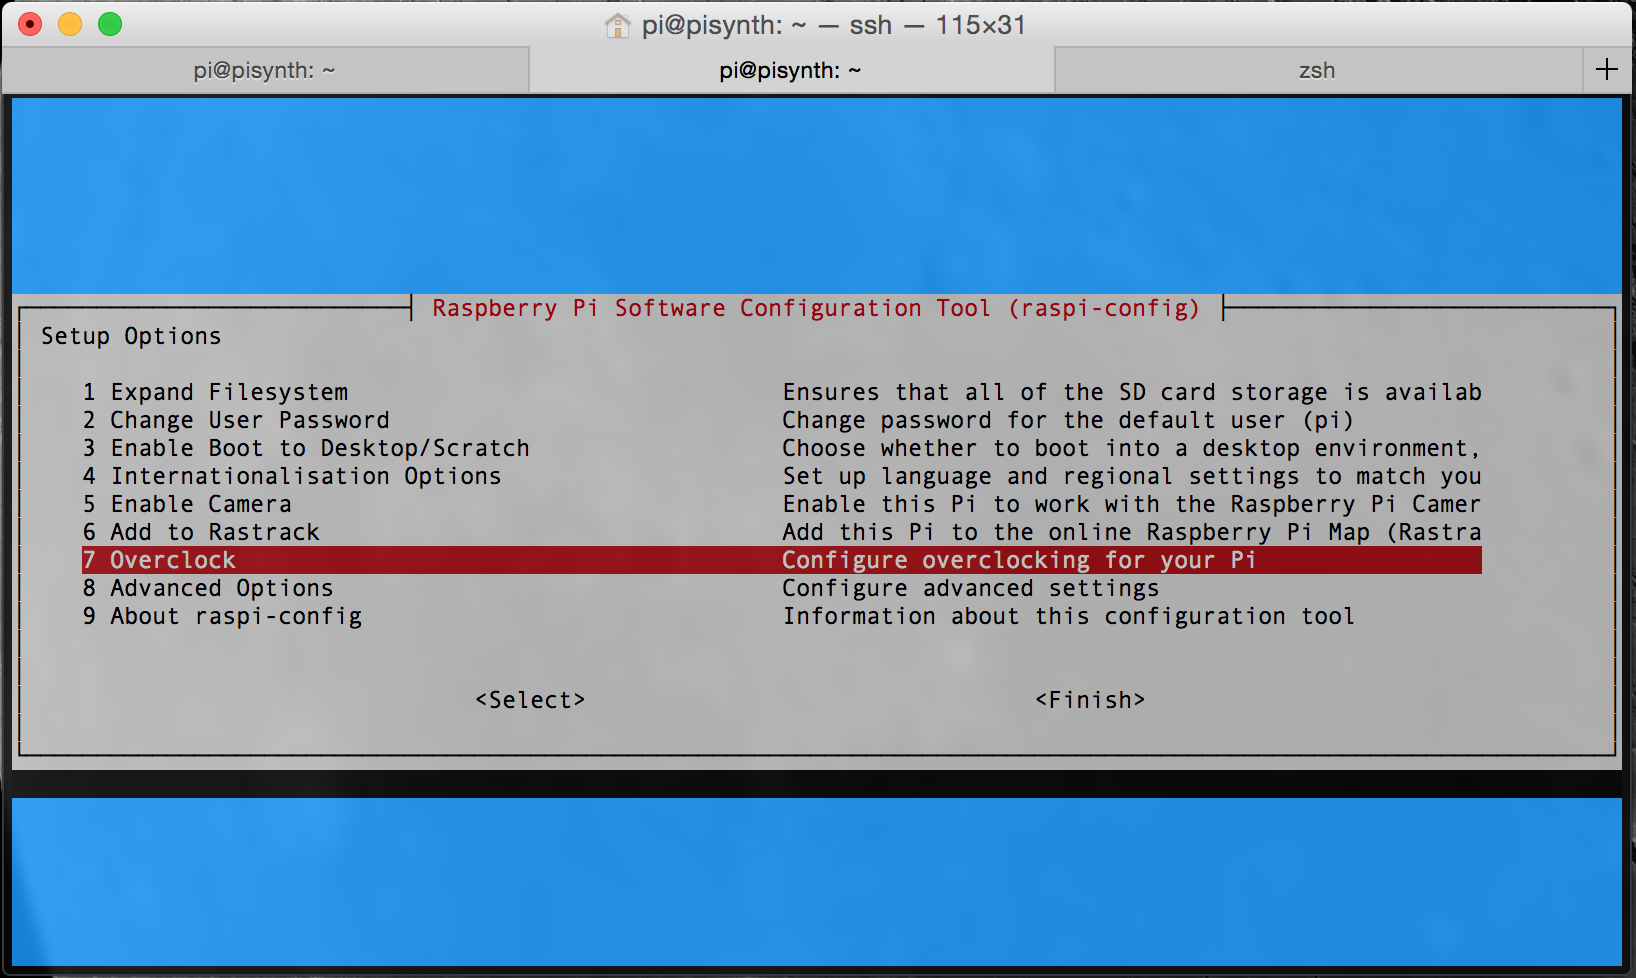
Run sudo raspi-config, and select Overclock from the menu.
As I won’t be using this Pi for anything else, I’ve chosen to run it at the highest overlock, Turbo. If you’re not comfortable with this, you may choose a slightly less aggressive setting. Play around and find what works best for you.
Create a Separate User
Depending on what you’re trying to do, this step might not be necessary. But if, like me, you want to switch the Pi on and have things “just work”, you’ll want to do this.
Run the following commands:
1
$ sudo useradd -m -G audio synth
This creates the audio group, and adds a new user called synth to the Pi. It also sets the synth user’s primary group to audio. This is more important if you want to run your audio through the JACK audio server. I’m choosing not to here, but it’s an option. If you do decide to investigate JACK further, Ted’s Linux MIDI Guide has some useful information.
Next, we want to allow the synth user to run commands with elevated privileges using sudo. Run sudo visudo, which will bring up the sudoers file.
Navigate to the bottom of the file, and add this line:
synth ALL=(ALL) NOPASSWD: ALL
Save and exit the text editor. If no errors come up, the synth user should now be able to run sudo without needing a password.
Setting up the MIDI
Plug your MIDI controller into one of the Pi’s USB ports, and make sure it’s turned on.
Run aconnect -o, and look for your MIDI controller in the output:
Write down your controller’s client number - you’ll be needing it later.
To verify that MIDI events are being sent, run aseqdump -p *xx* (replacing xx with the client number you just wrote down). Play some keys, and verify that note on/off messages are coming through.
Making Some Noise
There are a few options you can choose to generate sound from your Pi, but I’m going with FluidSynth. CPU cycles are precious on a lower-powered device, so more complicated audio software may not work as well. YMMV.
Plug your speakers into the Pi’s stereo output, and make sure they’re switched on with the volume at a low-medium level.
At your Pi’s terminal (again, assuming you’re logged in as the pi user):
12345678910
$ sudo apt-get update
$ sudo apt-get install fluidsynth
# Try running the aplay -L command. If the Pi complains about aplay not being found, run this too:$ sudo apt-get install alsa
# Now run:$ aplay /usr/share/sounds/alsa/Noise.wav
If everything worked properly, you should have heard noise come out of your speakers!
Wiring it all together
This can get a little fiddly, and I found it helpful to have 2 terminals open on the Pi at once.
In terminal 1, run:
1234567891011
$ fluidsynth --audio-driver=alsa --gain 3 /usr/share/sounds/sf2/FluidR3_GM.sf2
FluidSynth version 1.1.5
Copyright (C) 2000-2011 Peter Hanappe and others.
Distributed under the LGPL license.
SoundFont(R) is a registered trademark of E-mu Systems, Inc.
fluid synth: warning: Requested a period size of 64, got 256 instead
Type 'help'forhelp topics.
>
Write down the client number for Fluidsynth as well.
Now let’s hook up both ends! In terminal 2, run:
12
# xx is your midi controller, yy fluidsynth$ aconnect xx:0 yy:0
Play some notes on your keyboard - you should hear some piano sounds come out of your speakers!
Automating everything
Doing all the setup is fine and good, but I’m not going to lug a keyboard around and run everything each time I power on the Pi! Let’s get it happening automatically.
WARNING: Getting these next steps wrong could stop your Pi booting properly. Be careful!
Switching to upstart
Run sudo apt-get install upstart, following the warnings carefully, then reboot your Pi.
Autologin
Now we’ll set the Pi to autologin the synth user we made earlier. Backup /etc/init/tty1.conf, then edit it with sudo privileges so it looks like this:
1234567891011121314
# tty1 - getty
#
# This service maintains a getty on tty1 from the point the system is
# started until it is shut down again.

start on stopped rc RUNLEVEL=[2345] and (
            not-container or
            container CONTAINER=lxc or
            container CONTAINER=lxc-libvirt)

stop on run level [!2345]

respawn
exec /sbin/getty -8 -a synth 38400 tty1
This will automatically login the synth user on the first terminal. You can verify this by plugging a monitor into the Pi and rebooting it – instead of seeing a login prompt you should see a shell for synth.
.profile
Whenever you log into a Linux machine, a script called .profile gets run. Adding our fluidsynth setup from earlier (with a few tweaks) will run everything whenever the Pi is booted up.
Add the following to the end of /home/synth/.profile:
123456789101112
# Run fluidsynth, but this time as a non-interactive serverfluidsynth -is --audio-driver=alsa --gain 3 /usr/share/sounds/sf2/FluidR3_GM.sf2 &# give it time to boot upsleep 10
# connect the controller to fluidsynth# Don't forget to replace these with the client numbers!aconnect xx:0 yy:0
# Give fluidsynth a nice high priority so it gets as much CPU as possible!sudo renice -n -18 -u synth
Reboot your Pi, and when it’s finished booting, play some keys and listen to your new synth!
Troubleshooting
ALSA
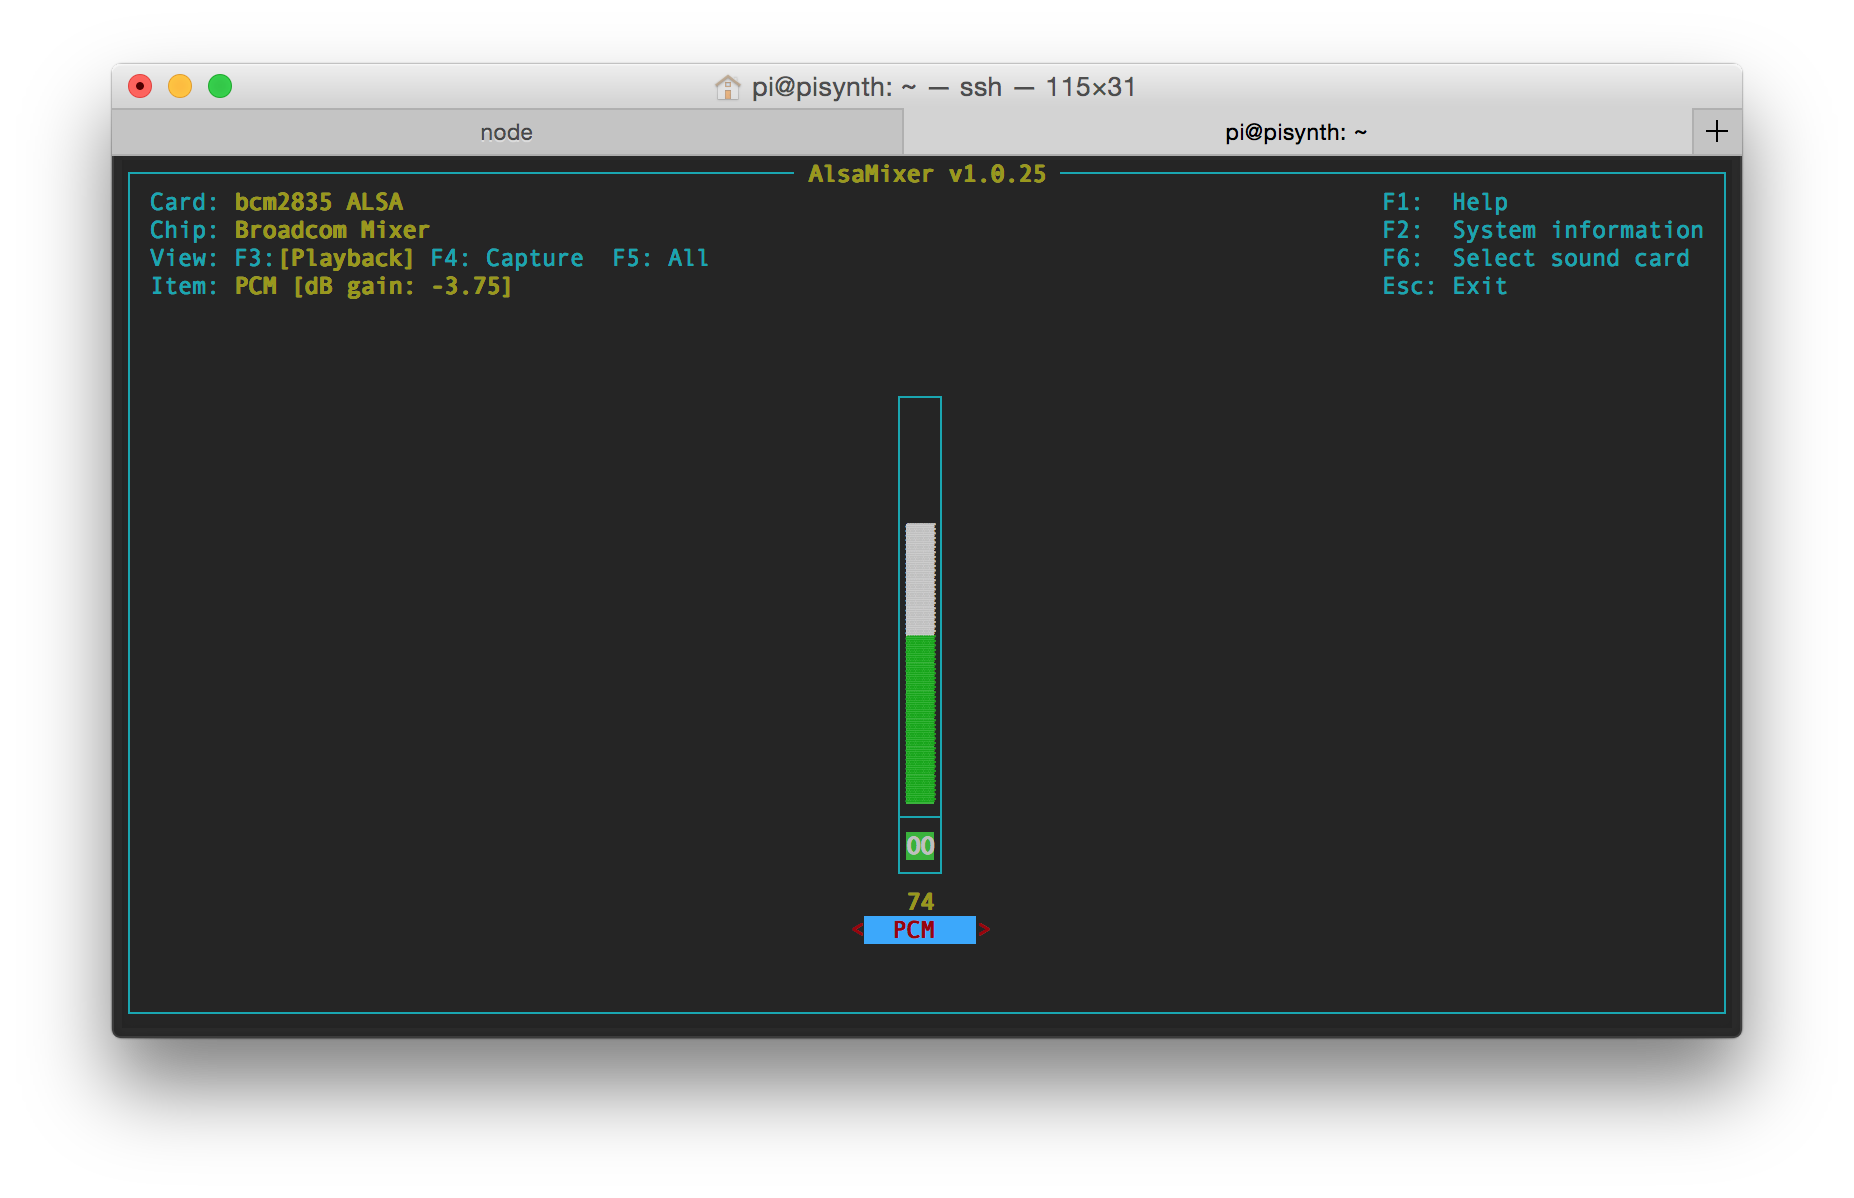
If running aplay above didn’t make any noise, perhaps you need to tweak your Pi’s volume levels. Run alsamixer and check that your output is right:
You should make sure that the output is set to be the Broadcom chip, not HDMI or your MIDI device if you’ve plugged it in. You can adjust the volume with the arrow keys &endash if this isn’t working, try pressing m to unmute.
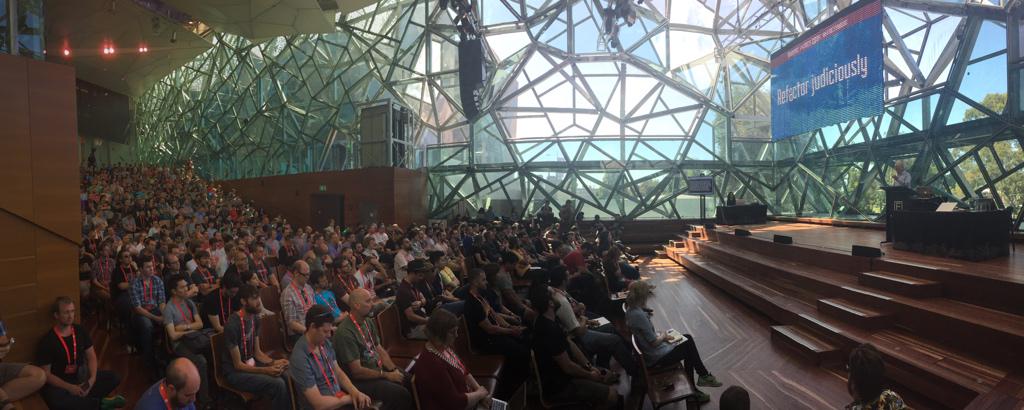
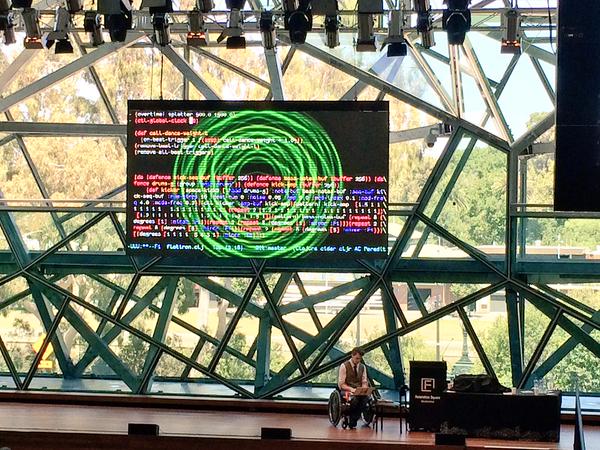
February 2015 saw Federation Square host the latest instalment of RubyConf AU, one of the best tech conferences in Australia. Over 450 Ruby developers from Australia, New Zealand & beyond gathered for 4 days of workshops, talks, and social activities.
I only attended the talks, so I can’t comment on the workshops, although every attendee I spoke to enjoyed them. The 2 days of talks only had the single track, but I think they fell neatly into a few distinct categories. Here are my highlights from each :) They will be available on Eventer soon, so I’ll update these with links when that happens.
Two great talks on traps & pitfalls to avoid when breaking apps into smaller pieces. The highlights of a strong SOA tinge through the technical talks.
“What cool things are Ruby people doing now?”
Like refreshing palate cleansers on a degustation menu, these were sprinkled through at just the right times. Real cool things being done by real cool people.
This was a wonderful talk. Children are great because they haven’t learned about what they “shouldn’t do” yet. I will be buying her book when I become a Dad, regardless of whether I have a son or a daughter :)
Big world problems don’t only need big solutions. Sometimes little projects can be a big help in themselves. Sean used Raspberry Pis and Ruby to give the plight of honeybees a voice.
Live coding can be just as compelling as any other live art form. Joseph gave us a peek into the tools that exist for live coding music, and then gave a stunning demo of what’s possible with Clojure + Emacs.
“What new stuff could make Ruby better?”
A great mixture of humanity, high–level maths, and where our language might go in future.
Ruby’s a very high-level language. But while people are trying to “make a betterC or Lisp”, nobody’s really trying to build a better Ruby. Why not?
“How can we be make ‘us’ better?”
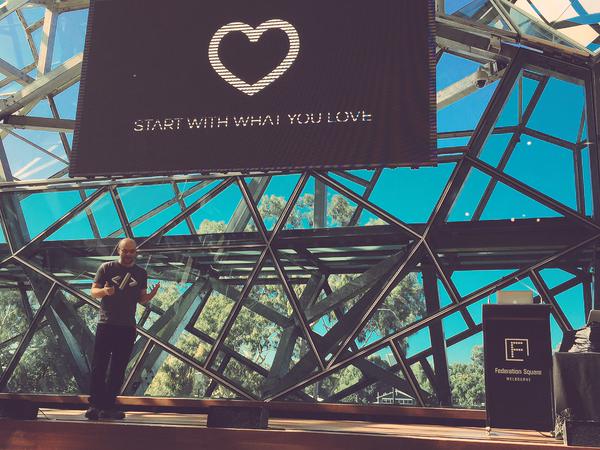
We can and should become more rounded individuals, and there are lots of paths! Trying more things, listening to others and stepping out of our comfort zones will all get us there.
Startups are hard. Build side projects instead. Present You won’t be under so much pressure, and Future You will have a richer set of experiences to draw on. Plus side projects don’t have to justify their existence!
or, You Can Do Post-Technical Things (and doing them will help the entire Ruby community). A call to arms for the more senior members of the community: If some of us who understand the benefits of Ruby don’t move into management, we’ll get managers who don’t and the community will suffer.
Other Observations
I loved the venue – the Edge Theatre is a stunning place and so central to everything! The only downside is that it only allowed for a single conference track. A few people were disappointed that there weren’t more “Ruby-centric” talks, and a single track probably explains most of why.
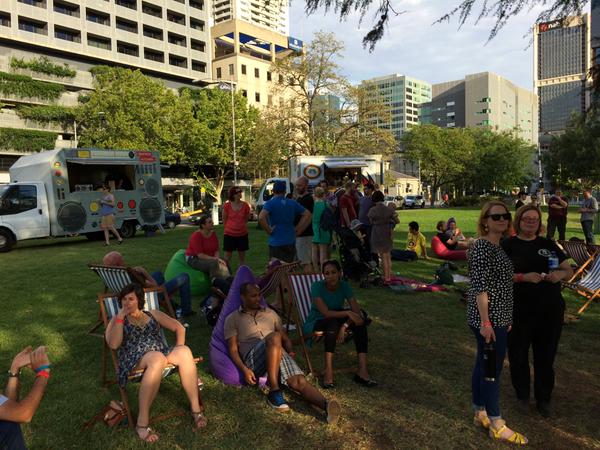
I liked the diversity of Social Activities. The organisers deliberately recognised that not everyone likes to go drinking at the end of every day. I thought the balance of other activities they provided catered for lots of different tastes. Well done!
I was pleased to meet a few new Rubyists at the conference. I feel like I’ve been on the fringes of the community for ages, and haven’t quite known how to “break in”, as it were. Meeting new recruits to our community gave me a chance to pay that welcome forward.
If you made it this far, well done. The conference was great, and Rubyists of any level should go next year and make it even better.
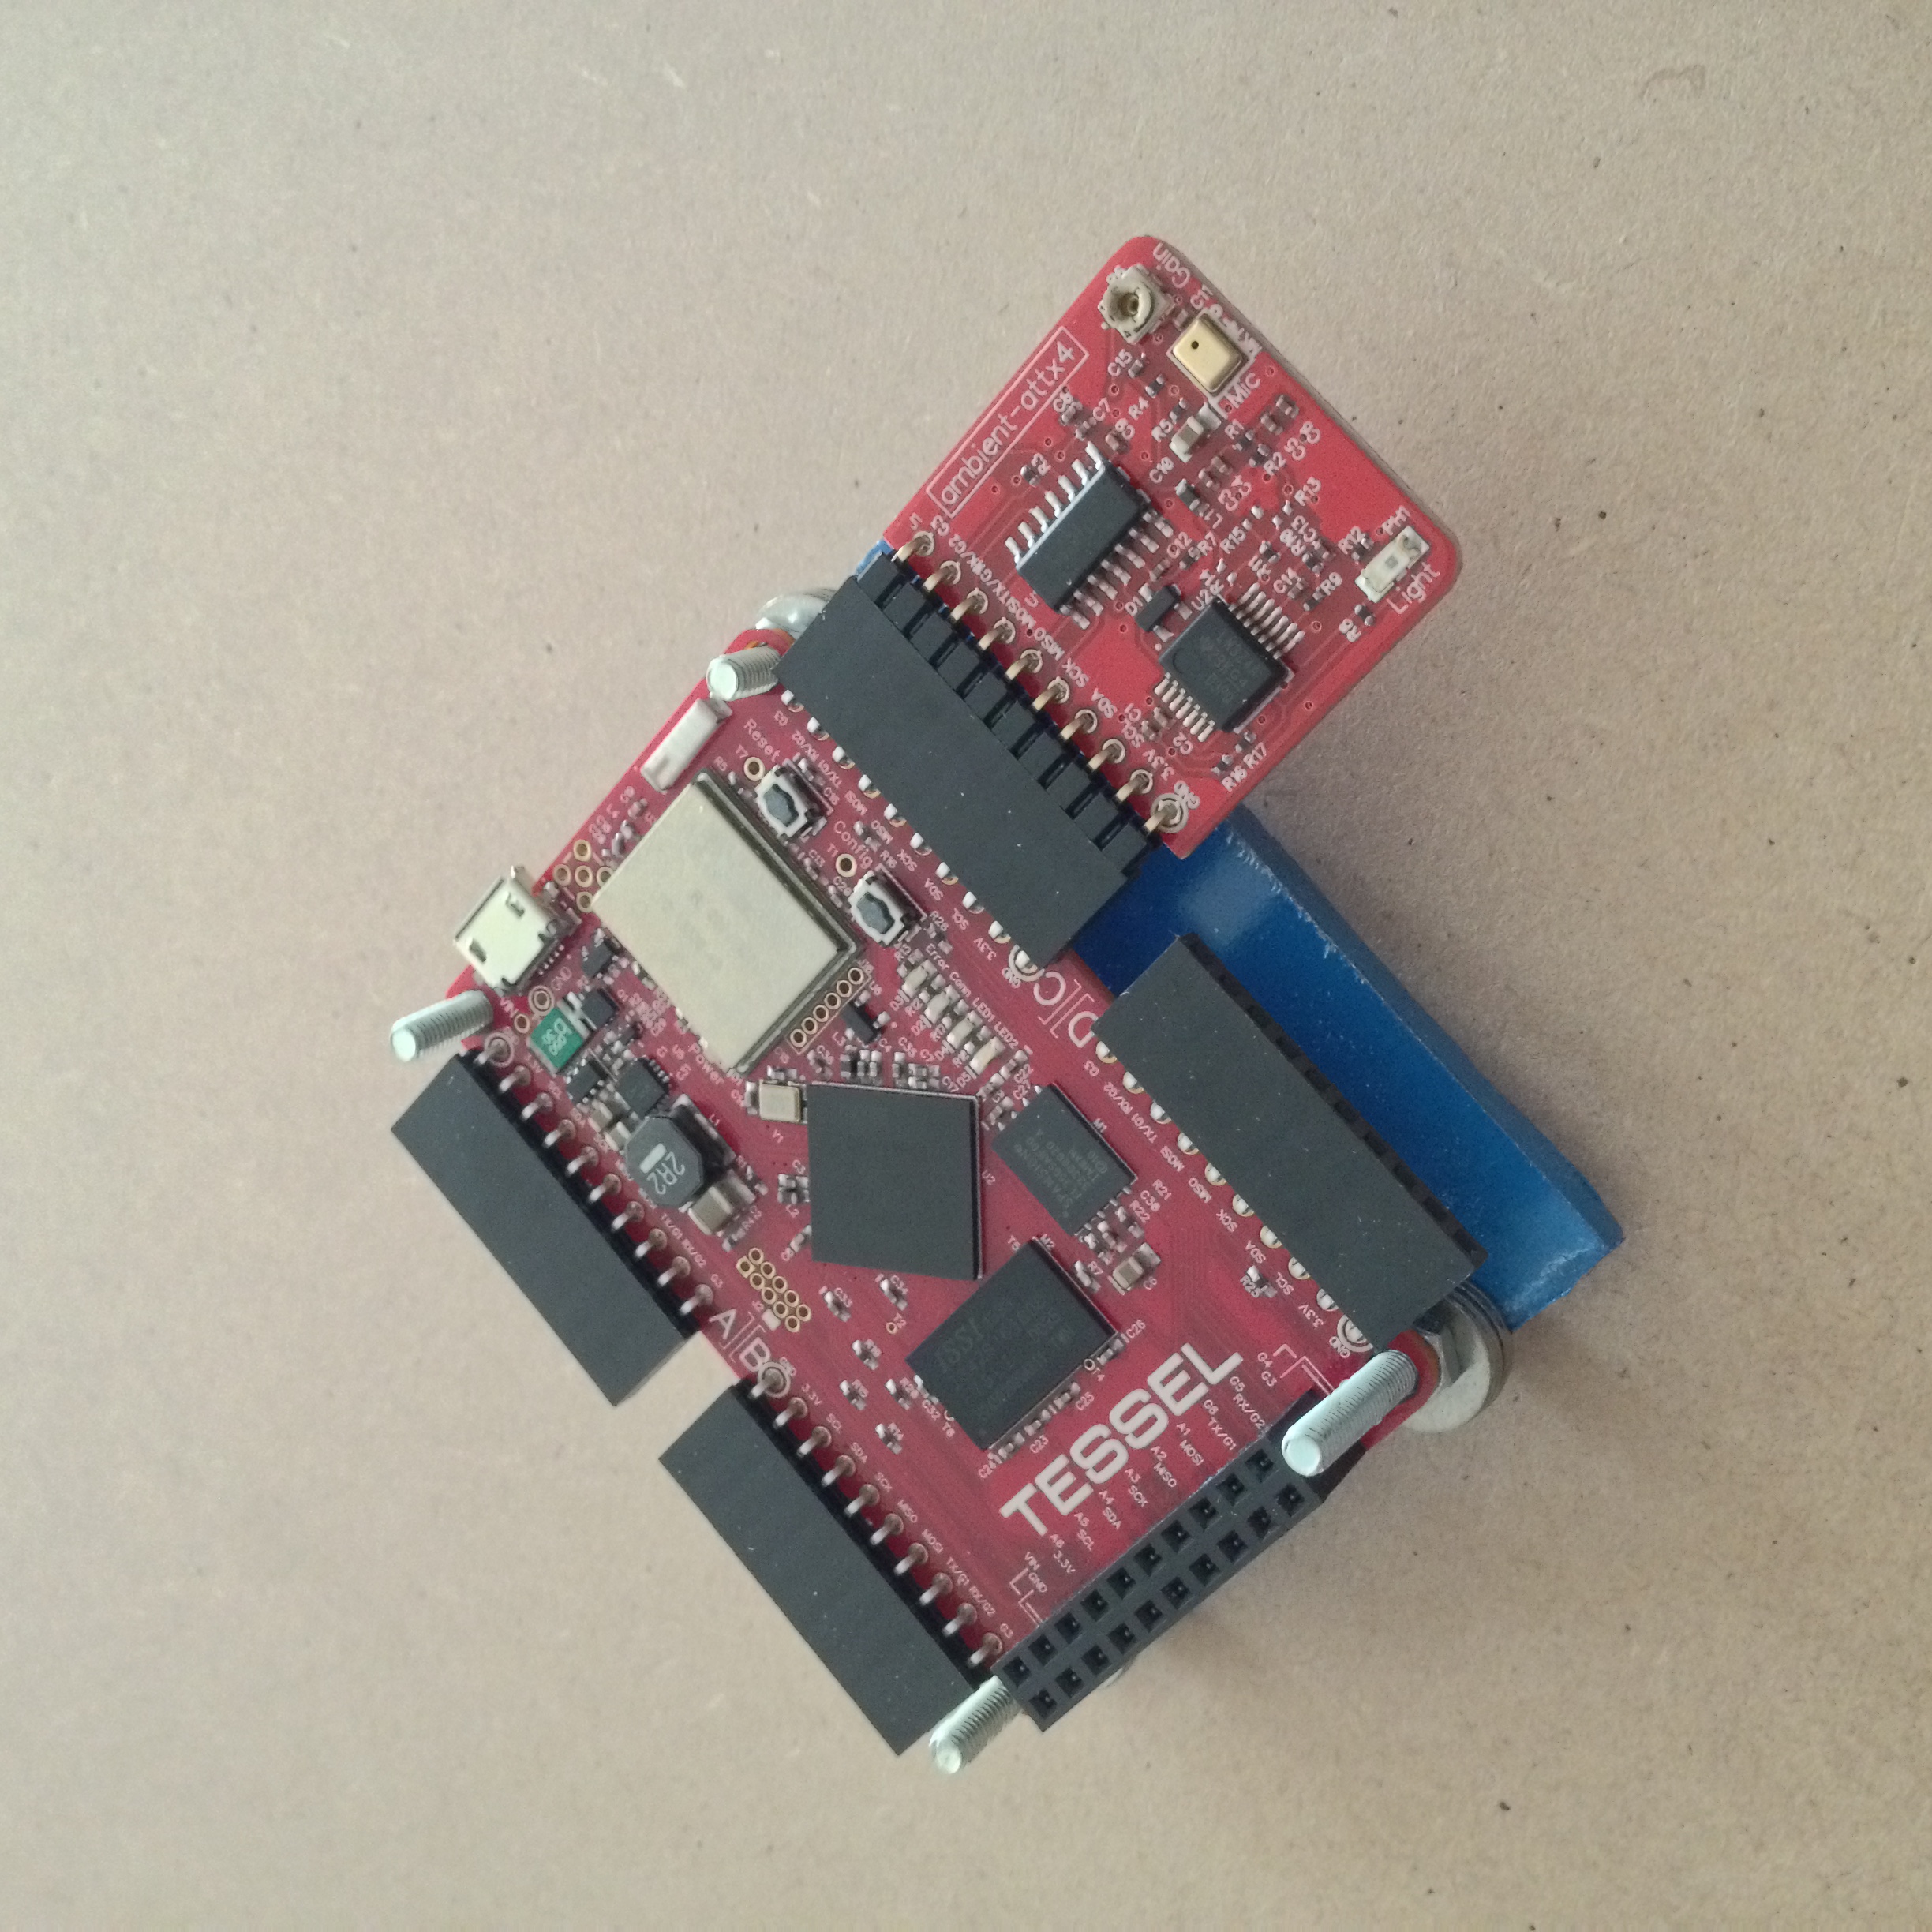
In just a few months time, I’m going to become a father for the first time. Being an expectant parent, and having some electronics lying around, I thought I’d combine the two!
The idea for this came from a Tessel blog post - taking readings from their modules and sending them directly to a cloud data service. I didn’t want (or think I’d get away with!) bare circuit boards in my newborn’s nursery, so I decided to make a small cover for the board as well.
I’ll be upfront: it’s not quite finished yet. I’m annoyed about that. But in the interests of accountability & transparency, iteration 0 is done!
I made a couple of errors, which I’ll fix when I do iteration 1.
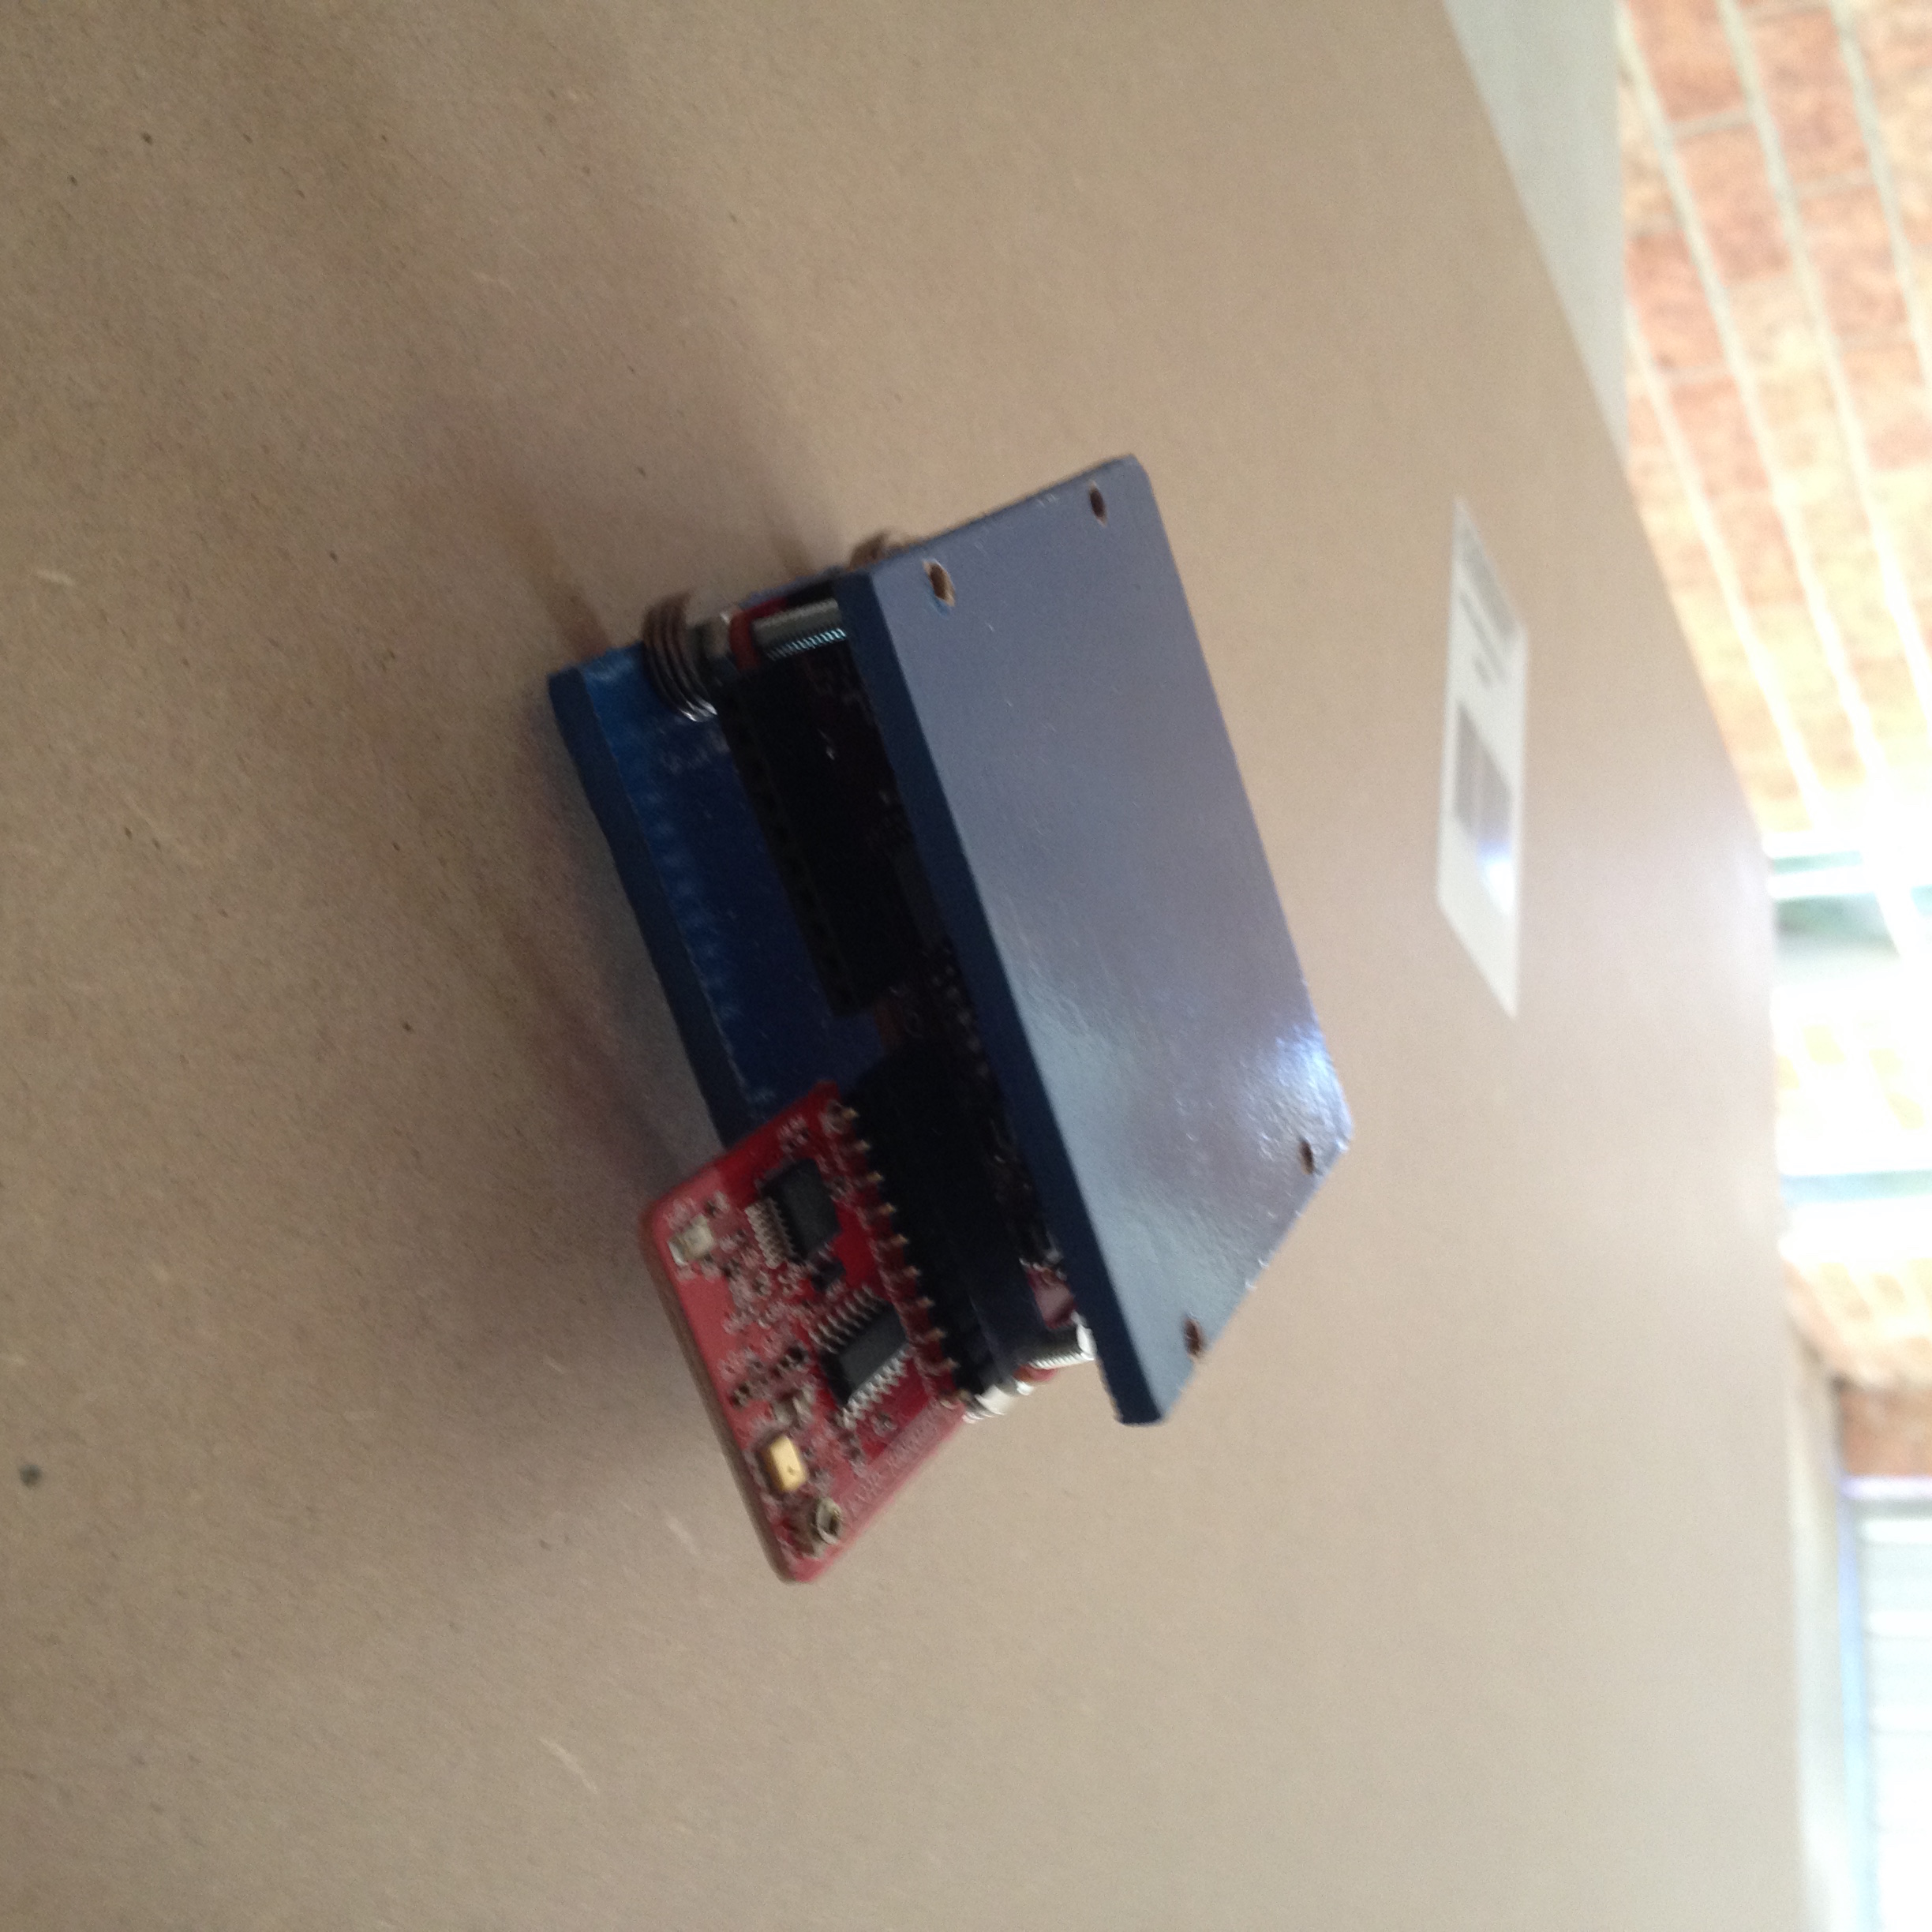
I got the holes almost lined up correctly, but not enough to make the bolts sit smoothly with the PCB. I’ve got to be more precise.
I also painted the boards before drilling the holes (because I was ready to paint but not to drill) - sometimes you just have to be blocked.
What I wanted to discover
That I could simply pick up a new skill, and easily execute what I wanted to do. (This looks really embarrassing when I write it down!)
What I learned instead
I’m not as good with my hands as I thought.
Knowing what I want might be a good step towards the result, but it’s foolish to think I can get there in one step.
For me, better preparation is more important than feeling like I’m moving.
Something I’ve really started to enjoy is working through software katas.
In karate, katas are exercises the student repeats many, many times. Each time through, the student will (hopefully) improve little by little in order to develop their technique and skill.
Similarly in software, katas are small, well-defined problems that are useful to practice software design techniques.
Inspired partly by Magnus Holm’s timeless repo, I’m going to post these kata here as embedded gists, so as I update them (and make more attempts at solving them) we’ll be able to see how my thoughts on software design grow and change.
The first one I’m going to put up is the bowling kata, and I’ll keep the full list up-to-date on the Kata page :)
So much of what we do as software developers is intangible - you can’t taste, touch, smell or feel code! I wanted to make something that was all of those (well, maybe not taste).
In 2011, I took a trip to the Middle East, where I visited a soap factory in Sidon, Lebanon. The same trip I bought some soap from Aleppo, Syria, and thought it was the most wonderful soap I’d ever used. Deep green, with a thick brown patina, it felt exotic to use and wonderful on the skin.
I decided that I would try my hand at soap-making. I’d never done much practical chemistry, and the thought of turning something you eat into something you could wash with was fun.
How does it work?
At one level, soap is Chemistry 101. You mix an acid with a base, you get a neutral salt. Soap is made up of two main components:
Lye (NaOH), which is a base
Some sort of oil, which is full of fatty acids.
With the right proportions and a good stirring arm, you’ll end up with soap!
This isn’t mine.
Did you learn anything?
Apart from how to make soap, I did learn a few things.
Be Prepared
Like lots of activities, soap-making works best if you have everything you need before you start. You also have lots of choices: what kind of oils will you use? Will you scent it? Will you follow the “hot” process or the “cold” process?
Because I’d thought ahead about my answers to these questions, I was ready when a block of time became available. I had what I needed, and I didn’t need to run out and look for an ingredient because I was ready.
Be Precise
Soap recipes are quite precise. I actually found the precision required comforting, for two reasons:
It helped me to concentrate on what I was doing.. Knowing too much lye or not enough stirring would ruin my batch scared me into focusing, being fully present.
It told me what to do next. I didn’t have to make lots of decisions on the fly, and I could concentrate more on executing instead.
Be Patient & Persistent
I knew what I wanted to do, and what I thought it would look like at the end. I still needed to do all the work required to go from ingredients to finished product. Following through and finishing gave me the real pleasure and satisfaction of a project completed. I got to use what I made, and I had pleasure in giving some away as gifts.
I’ll take these insights into my software projects, and my approach at work. I’m going to spell out what I need to do before I start, eliminate more distractions, and be thorough so when it’s done, it’s done.
Another year has been and gone, and now 2015 extends before us as the Not Yet becomes the Has Been.
I have a few goals this year:
Say ‘no’ to more, and finish the ‘yeses’
Build routine
Tell more stories, better.
To achieve this, I’m limiting myself to the following two three simple rules:
You get one project a month.
You have to finish that project within the month.
Tell the story of that project, good or bad. “I just didn’t” makes a terrible story.
Like an agile project, I’ll maintain a backlog of projects, and if I choose to prioritise them then well and good. But during the month, I’ll focus just on that project.